When I first arrived in the United States, the only fast food that I actually took a liking to was the burrito bowl at Chipotle. I remember eating it at least once a week during the first few years. Ever since then Chiptole has been our go-to place for non-greasy and tasty fast food. I had been thinking of creating the burrito bowl at home since the ingredients looked simple enough but the ease of a Chipotle pick-up always put my grand plans on hold. Anyhow, cut to a few months back and I finally tried making the burrito bowl at home and it turned out way way better than I expected.
I made it again recently on Super bowl Sunday and thought of posting it here. Let me tell you once you go home-made it will be hard to go back to the store made stuff - it is that good. Another thing I want to point out is that please don't be discouraged by the long list of ingredients- it might take some time but all of them are relatively easy to put together.
You need to make
Rice, Beans, Fajitas, Tomato Salsa & Guacamole
INGREDIENTS
Cilantro -Lime Rice
2 cups of Jasmine or Basmati Rice
4 cups of water
1 tbsp ghee or butter
Juice of 1 lime
1 cup of cilantro - chopped
1.5 tsp Cumin Powder
Salt to taste
Beans:
1 cup kidney beans (rajma) soaked overnight
Fajitas:
2-3 medium sized bell peppers (preferably green) - sliced
1 big red onion - sliced
1 tbsp of ghee or coconut oil
Tomato Salsa:
2 large tomatoes - finely diced
2 tbsp red onion- diced
1 garlic clove - minced
1/2 green chilli - diced (I used Serrano pepper)
handful of chopped cilantro
salt to taste
a pinch of sugar
juice of 1 lime
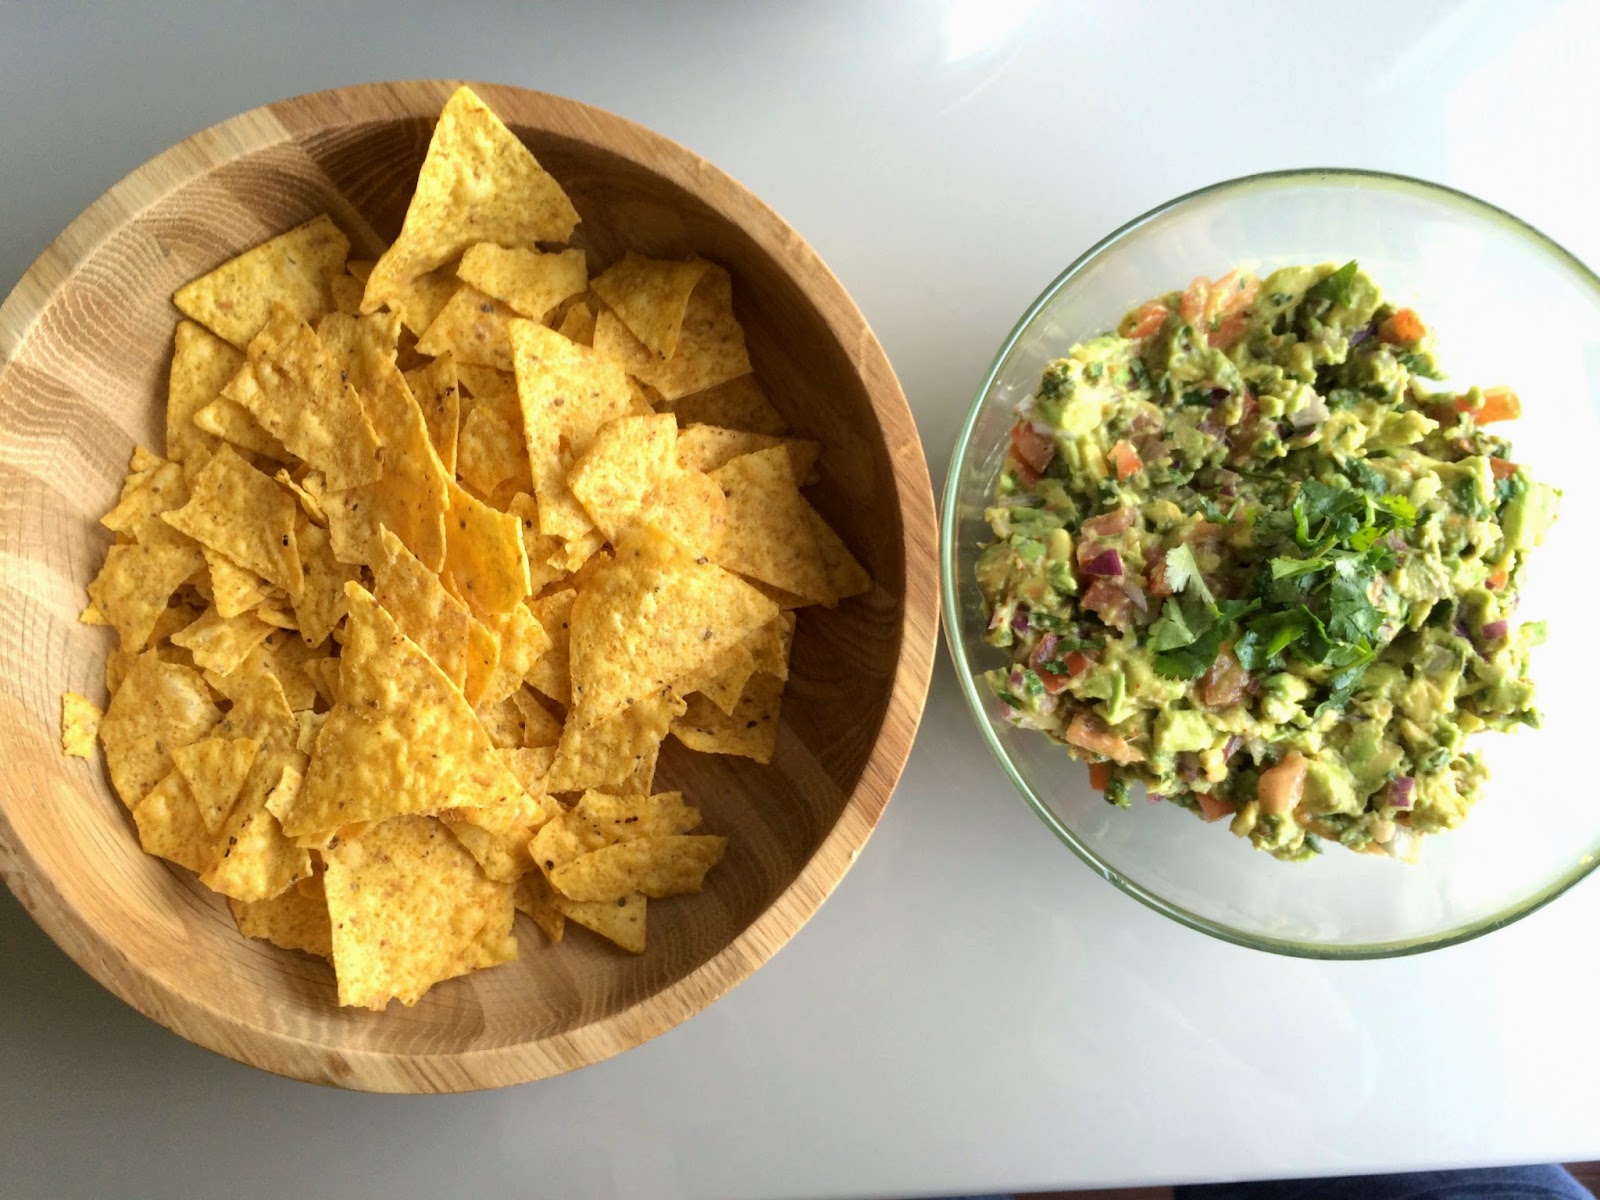
Guacamole:
2 Avocados - pulp
2 Tomatoes - de-seeded and diced
1/2 medium red onion - diced
1 garlic clove - crushed
Juice of 1 lime
handful of chopped cilantro
1 tsp cumin powder
salt and chilli powder to taste
Lettuce: Shredded (optional)
NOTES:
- You can use either brown or white rice. I used white basmati rice.
- You can use Jalapeno or Serrano peppers - just err on the side of caution and add it in portions.
- I have seen Roma Tomatoes work best for Guacamole as they have less juice and pulp.
- When I am in hurry, instead of making guacamole, I just use chopped avocados.
Process:
Rice
- Start by making the rice first. Wash the rice and put them along with 1 tbsp of ghee and water in the pan to cook just like you would regular rice.
- You should add the chopped cilantro, lime juice, cumin powder and salt after the boiling stage i.e at the simmering stage, when the rice is about to be done and there is a little bit of water left.
- Mix well and keep it covered. Remember the key ingredients that will make this rice similar to the one at Chipotle are lime juice and cilantro - so adjust the seasoning as per your flavor.
Beans:
Pressure cook the soaked beans - you just need to add little bit of salt to them
Fajitas:
In the meanwhile, slice the peppers and onions and saute them in a pan and cook them to your preference. You can sprinkle a little bit of salt on these too.
Tomato Salsa:
Mix all the ingredients well in a bowl and adjust the seasoning according to your taste.
Guacamole:
- Remove the Guacamole pulp and add the diced tomatoes, onion and garlic along with all the other spices - cumin, salt and chili powder.
- It's a good idea to take out the pulp and juice of tomatoes - otherwise your guacamole will turn out to be too soggy and liquidy.
Serve: Start with a bed of rice, add the beans and fajitas and garnish with tomato salsa, guacamole and lettuce. You can top it with bit of Sriracha and a few spoons of yogurt.