This blog is my collection of healthy recipes and other health and nutrition related information from all over the web. This is just my way of sharing all the healing goodness with my family and friends.
Showing posts with label Quick-Under 20mins. Show all posts

Tuesday, July 28, 2015

Spinach Khichdi

Khichdi is my go-to comfort food. It is my kind of fast food - healthy, easy and quick to make. For the longest time I used to make Khichdi in the simplest way possible - Mix rice & green mung dal, add salt and pressure cook it. The only fancy thing that I did to my khichdi was top it off with a spicy salad of diced onion and tomatoes.
Off late I have been trying to make khichdi with some variations and the results have been pretty good. The main theme is still a simple mix of dal and rice but the small tweaks have brought a fresh flavour to a good old favorite. In this recipe, adding spinach increases the nutrient value of the khichdi and its still a simple one-pot meal. I make this often especially when I have some extra spinach on hand that needs to be finished. There are a couple of different ways to incorporate spinach into the khichdi, I have put the options in the Notes below:

INGREDIENTS:
1/2 cup yellow mung dal
1/2 cup masoor dhuli dal
1/2 cup rice
3 cups spinach - finely chopped (can add more)
3 cups water
salt
1/2 tsp turmeric powder
Tadka/Tempring
1 tbsp ghee
1tsp cumin seeds
1 tsp garlic -minced
1-2 whole red chillies
2-3 tejpatta
1 pinch heeng/asafetida
1/4 tsp garam masala (optional)

NOTES:
-Spinach: I simply chop the spinach and add it to the pressure cooker along the dal and rice - this is the simplest way to approach this one pot meal. You could chop and blanch the spinach separately and add it to the khichdi mix once its cooked - you will need to cook it a bit more after addign the spinach. Another alternative is to simply blend the raw spinach into a smooth paste and add it to the cooked khichdi - again you would want to cook the mixture for a few minutes once you add the spinach. In all the above options, tadka is the last step in the recipe.
-If you want your khichdi to be more fancy, you could also add another layer of tadka to the cooked khichdi - starting with minced ginger-garlic in a 1tbsp of ghee. Followed by chopped onion and chopped tomatoes.

PROCESS:

  1. Cook the the washed lentils, rice and spinach mixed with 3 cups of water in a pressure cook. It usually takes 2 whistles on medium flame. Add more water if you feel the khichdi looks too dry.
  2. Het ghee in a pan and add the cumin seeds, followed by minced garlic. Then add the tejpatta and red chillies. Add the hing.
  3. Add this tadka to the khichdi and mix it well and let the khichdi simmer for a couple of minutes. Add the garam masala if using. At this point, adjust the seasoning and add water to make the consistency as per your liking.
  4. Khichdi is ready to be served.


Wednesday, April 8, 2015

Tofu Manchurian

This is the easiest and the tastiest way to make tofu. I was never a big fan of tofu until I tried it this way. I learnt this recipe from a friend's husband and it has been a favorite of mine ever since. I have made it for lot of people, most of whom were not fond of Tofu and it was always a hit. So if you are a tofu novice then this is the recipe to start with. The best part about this is that you can keep the sauce thick to serve it as an appetizer or make it more like gravy to serve with rice or any other grain. And did I mention it takes no more than 20 minutes to whip this up:

Serves 2

INGREDIENTS:
  • 4-5 bunches Scallions (Green onions) - only the green part
  • 8 0z Tofu (Firm) (Brand I use)
  • 1 tbsp ginger - minced
  • 1tbsp garlic - minced
  • Salt 
  • Pepper
  • 1 tbsp olive oil
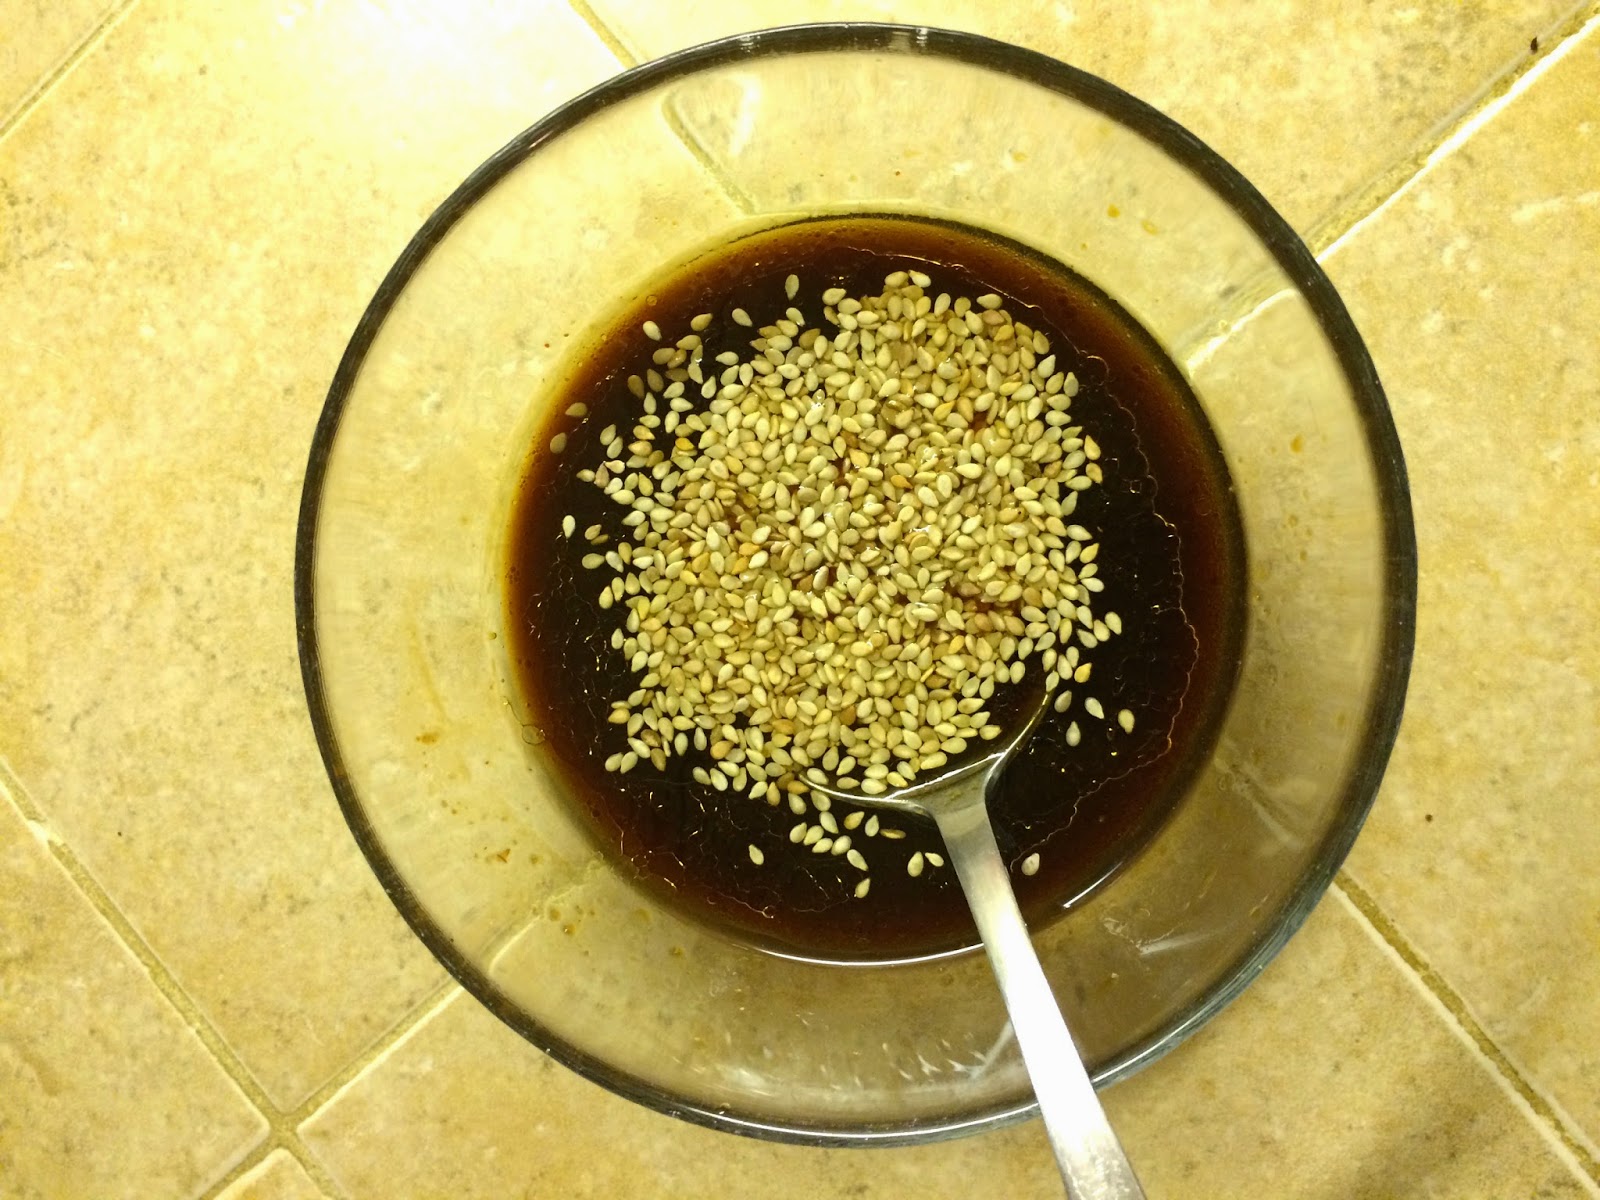
Sauce
PROCESS:
  1. Chop the green part of onions and sauté them lightly for a couple of minutes - make sure you do not overcook them especially if you are making this as an appetizer. 
  2. Chop the tofu into 1 inch pieces and keep aside.
  3. Add the minced ginger and garlic 
  4. Mix in all the ingredients of the sauce - and add it to the green onions.
  5. Add salt and pepper  to taste - while adding salt remember that the dish already has soy sauce so you might need very little additional salt.
  6. Add tofu pieces
  7. Serve as it is or on a bed of brown rice or quinoa or any other grain of your choice.


Tuesday, February 3, 2015

Chickpea Salad with Sundried Tomato Paste

This is a salad I make whenever I need to make a quick lunch. I have a jar of this sun-dried paste in the fridge and it comes handy whenever I am a little short on time. You can whip up the salad in minutes provided you have boiled chickpeas in the fridge.


Serves 2

Salad
INGREDIENTS

  • 2 cups Chickpeas, soaked overnight and cooked 
  • 1 cup Cherry tomatoes - chopped 
  • salad leaves (any kind)
  • handful of Grapes (optional)
  • Paneer cubes (optional)
  • 1-2 tbsp sundried tomato paste
  • 1-2 tbsp of Olive oil
  • Salt & Pepper to taste
NOTES:
- I do not add paneer to the salad and it still tastes delicious.
- In case you don't have cooked chickpeas on hand - you can try boiling them on the spot - adding a pinch of baking soda helps quicken the process, but you would still want to pressure cook them for at least 4-5 whistles on a slow flame. Make sure to discard the water used in boiling.

PROCESS:
  1. Dressing: To make the dressing just mix in 1tbsp sun-dried tomato paste with 1tbsp of olive oil. I used the 2 tbsp of each.
  2. Boil the chickpeas, that have been soaked overnight - drain them and put them in a salad bowl.
  3. Throw in the chopped cherry tomatoes+ the chopped grapes along with the salad greens.
  4. Add in the dressing - adjust the salt and pepper
  5. And you are done!

Sun-dried Tomato Paste - Makes 1 full jar (250ml)

INGREDIENTS
  • 1 cup Sun-dried tomatoes (without oil)
  • 1/4 cup Balsamic Vinegar
  • 1/3 cup water
  • 3 tbsp garlic - crushed
  • 2 tbsp capers (optional)
  • 1 tbsp red chilly powder or flakes
  • 3 tbsp Oregano (preferably fresh)
  • 20 leaves of fresh basil
  • 1/2 cup Olive Oil
  • Salt to taste
NOTES:
- The measurements are all my best approximation of the original recipe so you might have to tweak them a bit.
- If using oil packed sun-dried tomatoes then skip adding the extra olive oil

PROCESS:

  1. Soak the sun-dried tomatoes in balsamic vinegar and water overnight
  2. Blend the soaked tomatoes with the rest of the ingredients till it turns into a smooth paste
  3. Adjust the seasoning - you might need to add a little bit of sugar if the paste is too sour.
  4. The paste stays well at room temperature for about a month and in the refrigerator for about a year.

Recipe Source: Healthfood Desi Videshi

Saturday, January 24, 2015

Asian Style Green Beans

Let me start by saying that this is by far the easiest way to make beans - the only work involved is the time it takes to chop up the beans. It's one of the meals that I end up making at least once a month because its so simple and not to mention super tasty. The recipe involves one special sauce - Hoisin Sauce - I suggest you not to skip it as it forms the base for the recipe. We usually serve this over a bed of grain - rice, quinoa, millet, barley whatever I have on hand.

INGREDIENTS:

  • 1 pound green beans - cut into 1 inch pieces
  • 1 tbsp Sesame oil (or any other oil)
  • 2-3 scallions - chopped only the green part (optional)
Sauce:

  • 1 clove garlic - minced
  • 1 inch (2tsp approx) ginger - minced
  • 2 tbsp Hoisin Sauce ( I use this brand)
  • 1-2 tbsp Rice Vinegar
  • 2 tsp toasted sesame oil
  • 2 tsp soy sauce
  • 1 tsp red pepper flakes

NOTES:
  • Plz keep in mind that tbsp= table spoon & tsp=tea spoon

PROCESS:
  1. Cut the green beans into 1 inch pieces
  2. Heat the sesame oil in a pan on medium heat. Add the green beans and sauté them for about 5-7 minutes. Cook them to your desired preference - I like ours a bit crunchy so I keep an eye on them and stir quite frequnetly
  3. Mix the sauce ingredients together and add it to the cooked beans - stir to coat all the beans and cook for about 1 min
  4. Serve immediately over the grain of your choice.


Saturday, January 10, 2015

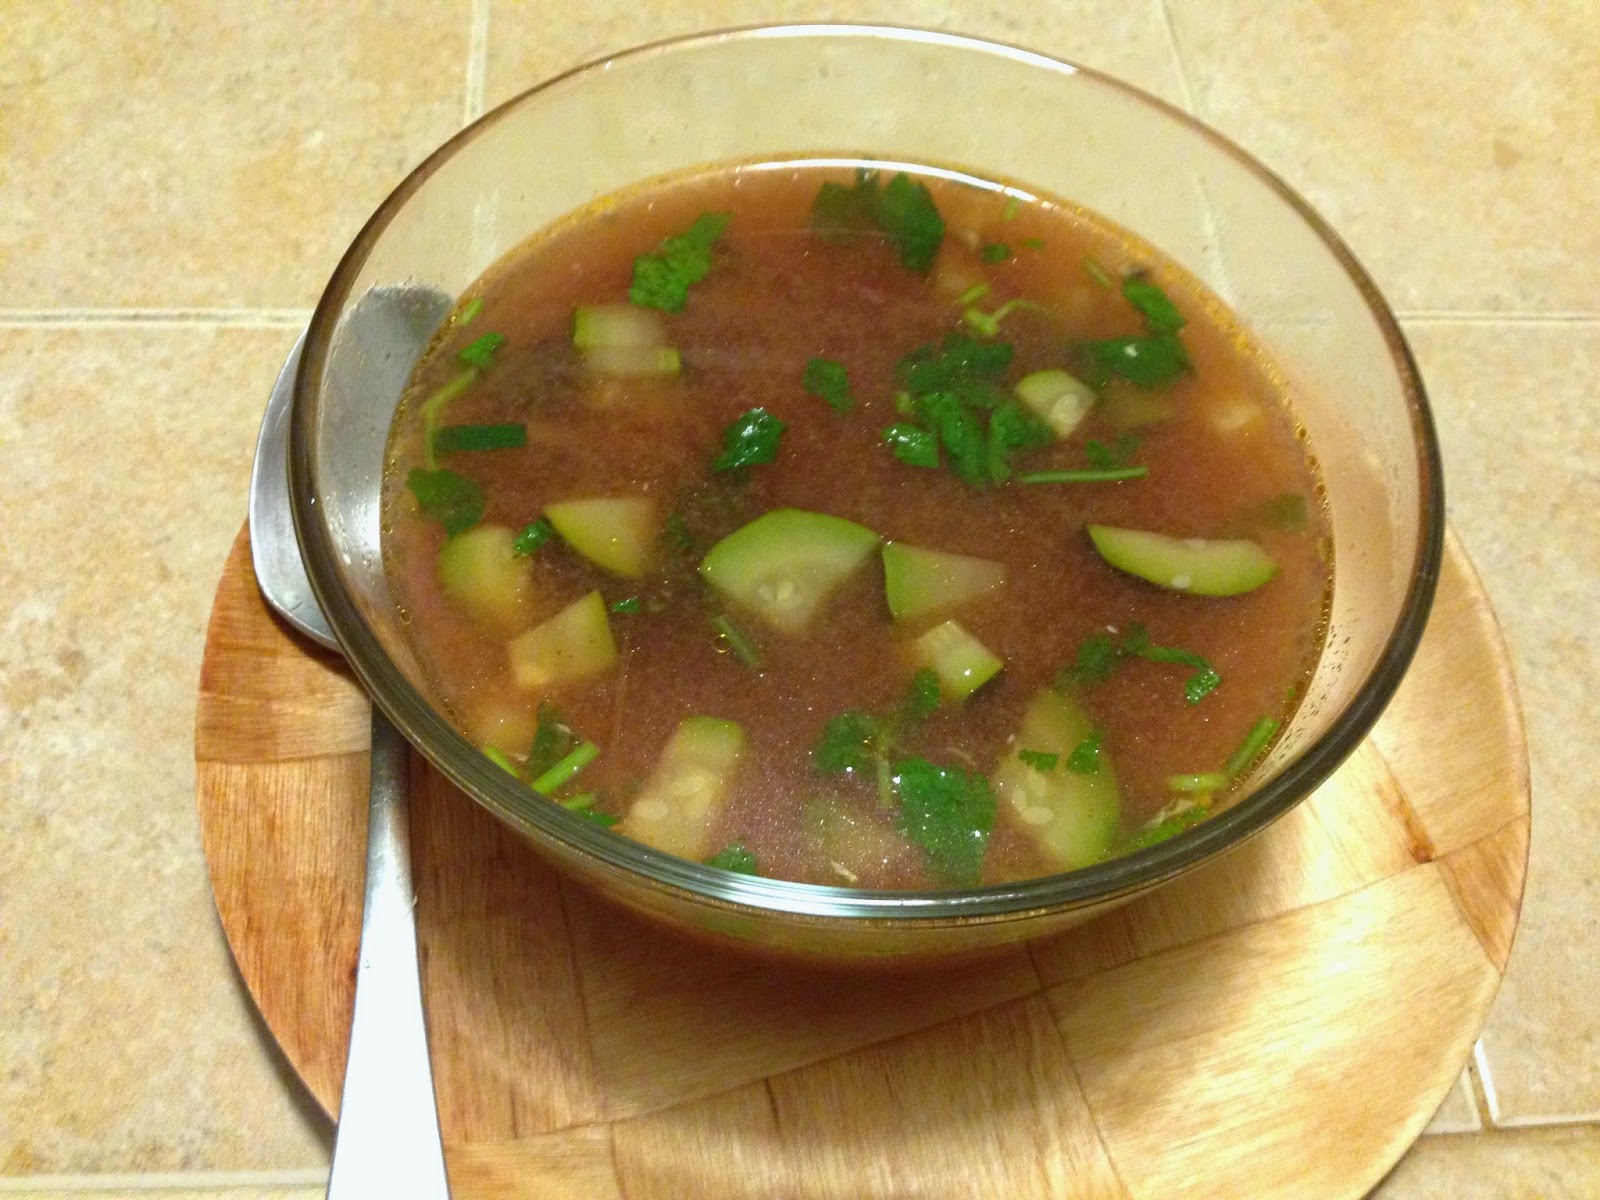
Sweet & Sour Thai Soup

This soup is a quick and tasty fix that can be made under twenty minutes with whatever veggies you have on hand. The only special ingredient that it needs is red miso paste.
Miso is a traditional Japanese food usually used in soups. Its an enzyme rich probiotic paste made by fermenting grains such as soybean mixed in with some barley or rice. There are typically three most common kinds of Miso - white, yellow and red. The darker the color of the miso the stronger it will taste and the longer it has been fermented. Miso is a great source of protein along with iron calcium and Vitamin B.

I made this soup when I was fighting off a nasty cold this past week - apart from helping me with the cold, I loved its different flavors - hot, sweet, savory

Ingredients:
  • 1/2 cup chopped veggies of choice (I used - onions, zucchini, carrots, purple cabbage, mushrooms)
  • 2 tablespoons chopped cilantro
  • 2 cups hot water
  • 1 tablespoon red miso* (This is the brand I use)
  • 1 tablespoon agave nectar
  • 1 tablespoon lime juice
  • 1 garlic - crushed/diced
  • 1/2 stalk of Lemon grass (optional)
  • 1 tsp ginger - grated
  • Chilli suce (optional)
  • salt
  • 1 tbsp sesame oil

Directions:
  1. Heat sesame oil in a pan and add the onions - let them saute them for a minute.
  2. Add the ginger and garlic and follow it with the rest of the vegetables (all chopped into bite sized pieces) and let them cook for a bit - about 5 minutes
  3. Add lemon grass stalk (if using) then add 2-3 cups of water and let it boil till your veggies are cooked to your liking.
  4. Add salt, lime juice, agave and red miso paste - adjust the seasoning to your taste. I like mine a bit bold so I added a little bit more of lime juice and agave. You can also add Sriracha or any other chilli paste if you want it to be spicy. 

*NOTE: Do not allow miso to boil - just add some hot water to make a thin paste and add it in the end once your soup is ready.


Sunday, December 21, 2014

Asparagus & Beets Stir Fry

Like most of the recipes posted so far, this one too involves minimal effort but with oh- so spectacular results. This recipe was recommended by a dear friend - Gaurav who is
incredibly creative in the kitchen.


Ingredients

  • 1 bunch Asparagus 
  • 1 medium onion - sliced
  • 2 medium beets
  • 2 cloves of garlic - whole
  • 1/2 cup cherry tomatoes - sliced
  • 2 eggs -boiled
  • 2 oranges
  • some kind of cheese (optional)
Process
  • Preheat the oven to 350 degrees F. Chop the beets into bite sized pieces - place them on a tray - spray with little bit of olive oil and salt and pepper. Let them cook for about 20-30mins. (Mine took about 20 mins)
  • Put the eggs for boiling on the side
  • Take a pan, add olive oil and sauté the whole garlic cloves till they are fragrant. 
  • Add the sliced onions and let them cook for a couple of minutes and then add the cut asparagus Let them cook for a few minutes - till they are done to your liking. I like mine a bit crunchy.
  • Mix the cooked beets to this mixture
  • Garnish with - cut cherry tomatoes, boiled eggs and orange slices.
  • Serve while still warm

Tuesday, December 9, 2014

Mung Sprouts & Cabbage Poriyal

All this time the only way I knew how to eat mung sprouts was to mix them in salads - my go to summer salad was mung sprouts mixed with watermelon and few other ingredients. But Eating sprouts in winter has always been a challenge for me and this warm cabbage poriyal is a great way to add mung to your winter meals.

Mung sprouts are a great source of Vitamin C, folate, iron and Vit B complex. They are a good source of protein and fibre too. 

Serves 2
Ingredients
  • 1.5 cup cabbage - finely chopped 
  • 1 cup mung sprouts
  • 1/4 cup fresh grated coconut (I used dried grated coconut)
  • 2-3 tbsp Lime juice
  • Salt
  • Pepper
Tempering Ingredients
  • 2tbsp Sesame Oil or Coconut Oil 
  • 1 pinch heeng / asfoedita
  • 10-12 springs fresh curry leaves
  • 1tbsp urad dal (split)
  • 1 tbsp mustard seeds
  • 1tbsp green chillies - chopped
  •  1 tsp green chillies - chopped
  • 2 tsp ginger - minced


Method:
  • Heat oil in the kadhai and add heeng and mustard seeds first.
  • Then add the minced ginger, curry leaves, urad dal and green chillies - let them all sizzle for a few seconds
  • Now add the cabbage. Toss and stir fry for 3-5 mins. ( I did not have enough green cabbage so I added some purple one too)
  • Add salt and pepper
  • Mix well and add the coconut.
  • Take off the stove - add sprouts and lime juice 
  • Serve warm or at room temperature


Turmeric Lemongrass Tea

Turmeric has been a staple spice in Indian households for ages but off-late I have started using fresh turmeric in my morning juice because of its immune boosting and anti-inflammatory properties.
A few days ago I came across a tea recipe using Turmeric that is just perfect for the cooler temperatures ahead.

Serves: 1-2
INGREDIENTS
  • 2 cups water
  • 1 inch fresh ginger root, minced (I grate it directly on the pot)
  • 2 tsp ground turmeric (or 1 inch turmeric root)
  • 1 tsp ground cinnamon (or 2-3 cinnamon sticks)
  • 1 tbsp lemongrass tea
  • 2-3 peppercorns (optional)
  • 1 green elaichi/cardamom (powdered)
  • 1tsp saunf/ fennel seeds
  • TO SERVE: sliced oranges/lemon, honey, juice of 1 lemon, 1 teaspoon coconut oil (all optional)
INSTRUCTIONS
  • In a small saucepan, bring water to a boil, add ginger root, turmeric, cinnamon, cardamom, saunf, peppercorns and sliced oranges.
  • Simmer for 10-15 minutes on medium-low heat. Add lemongrass tea - steep for 3 minutes and then take out.
  • Pour in a tea mug,
  • TO SERVE: add coconut oil (optional), honey to taste, and fresh lemon juice. Enjoy hot or warm.

This tea can be made in so many different ways - You can simply add the spices that you have on hand or omit the ones that you don't like. I usually don't add honey and have yet to try the addition of coconut oil.

Recipe Source: Nutrition Stripped

Wednesday, December 3, 2014

Buckwheat Upma

This recipe is a twist on the Dalia Upma that I make very frequently at home. Recently my cousin suggested that I swap dalia for Buckwheat groats.
Besides being gluten free, Buckwheat is  full of Vitamin B complex, fibre and is highly anti-inflammatory making it great for people with arthritis. It's also a very good source of protein and has been proven to help reduce LDL (the bad cholestrol) and increase HDL levels (the good kind).

Toasted Buckwheat
Raw Buckwheat 
I prepare buckwheat the same way you make dalia - toast it in ghee for few minutes and then add water and let it cook for a 10-15 minutes. Keep an eye out when it's cooking because if you let it be on the stove for too long it becomes mushy very quickly. You can also get toasted buckwheat groats - buy these if you want to save sometime in the morning.

The recipe in itself is pretty simple can be made under twenty minutes for a healthy lunch option:

Ingredients:
  • 1 cup of cooked Buckwheat groats/dalia
  • 1 tsp mustard seeds
  • 1 tsp jeera (cumin)
  • Lots of chopped curry patta . 
  • 1 medium chopped onion , 
  • 2-3 chopped tomatoes 
  • 1 chopped Bell pepper ( I add whichever ones I have on hand)
  • one chopped green chilly and 
  • 1 tbsp Ghee/Oil
Process:
  • Heat coconut oil in a kadhai and add mustard seeds and jeera followed by fresh curry patta
  • Now add all the veggies in one go - and let them cook uncovered for a few minutes
  • I like it the veggies crunchy so I make it a point to not overcook them
  • Finish with salt and pepper


Sunday, November 9, 2014

Broccoli Roll w/d Leftover Chapati

This is one of my all time favorite recipes to make on a weekday morning especially if we had made chapati's the night before. Its simple, tasty and healthy and requires very few ingredients.

Ingredients:
  • 1/2 cup besan (chickpeas flour)
  • 1 bunch broccolini
  • 1 garlic clove
  • 1/2 tsp of ajwain (carom seeds)
  • 1/2 tsp haldi (turmeric)
  • Red chilly powder to taste
  • salt and pepper
  • Ghee for cooking
  • Sriracha (optional)

Process:
  • Make a thick paste of besan by adding all the masalas in it. 
  • Add a bit of oil in pant and add diced garlic. Cut the broccoli/broccolini in small bite sized pieces and add it to the pan. Let it cook for a few minute - I take them off when they are still crunchy
  • Smear the besan on one side of the chapati and put it on hot greased tawa- besan side down. Cook it well - the chapati will start coming off the tawa and then you can cook it a bit on the other side too if you want too - I usually skip it.
  • Put the broccoli on the besan roti, I add a bit of Sriracha sauce and roll the roti in half moon.
  • You can eat it with a side of dahi. I also added some alfa alfa sprouts

Sunday, November 2, 2014

Spinach Fritata

This recipe serves as a great and easy alternative to omelettes for a weekend brunch - I make this whenever we want something different without putting in too much effort.

serves 2
INGREDIENTS:
  • 4 eggs
  • 1/4 cup milk (any kind)
  • clove of garlic, minced
  • olive oil
  • 2-4 cups fresh spinach
  • 1/4 cup (or so) scallions, chopped (reserve some for garnish)
  • pinch of paprika or other spices you like (totally optional)
  • chopped sun dried tomatoes (optional)
  • pinch of red pepper flakes (optional)
  • grated parmesan or pecorino cheese (optional - I did not use it)
  • salt & pepper
Process:
  • Preheat oven to 450 degrees. (preheat a cast iron skillet in it if you like -15 mins in smaller oven. You could always use any other baking dish)
  • Crack eggs into a medium bowl and whisk them together with milk, salt, pepper, minced garlic, and any spices you want to add. Set aside.
  • In a medium skillet saute spinach and scallions in a bit of olive oil until spinach is mostly wilted. Add a pinch of salt. 
  • Place the cooked spinach into the egg bowl with the sun dried tomatoes and gently mix.
  • Pour the whole mixture into your cast iron skillet (add some cheese on top if you want to) and bake in the oven until it puffs up and becomes golden brown. 
  • I used a  5 mini skillet, so I cooked mine for about 15 mins in smaller oven. If you have a larger skillet and a bigger batch of eggs, you will need to cook it longer. Just watch it and poke at it a bit until your eggs are firm-ish and cooked.
  • Remove from oven and let cool. Slice and serve.
Recipe Source: Love and Lemons

Sunday, October 26, 2014

Green Egg Roll w/d leftover chapati

Ingredients
  • celery 
  • cucumber
  • boiled eggs
  • home made dressing (Recipe below)
So this meal can be really quick - All you have to do is slice (or dice) the boiled eggs, chop the and cucumber. Soak them in the dressing and fill them in a chapati roll. 
Notes: Use a mix of coriander greens and mint with some fresh baby spinach if celery is not available. 

1st Dressing: (I use this more often)
1 tsp of olive oil
a tsp or more of lemon juice
1/4 tsp yellow mustard powder or mustard sauce
salt n pepper to taste


2nd Dressing: 
1/2 cup dahi+1/2 cup cilantro+1/2 lime+1/4 tsp cumin powder+salt

Friday, October 24, 2014

Potato Dill Salad

Dressing
  • English mustard 2 tbsp
  • lemon juice 1 tbsp  
  • chopped green chillies 1 tbsp
  • finely chopped garlic 1 tsp 
  • salt n pepper to taste
  • mustard oil or toasted sesame oil 2 tsp

Salad ingredients
  • boiled and sliced baby potatoes 3 cups
  • sliced spring onions (lower halves only) 1 cup
  • chopped dill leaves 3/4 cup or as much you like

procedure
Mix the dressing ingredients and give a good shake .
Throw in the dill leaves and mix well , leave for a good ten minutes .
Toss in the spring onions and sliced potatoes , adjust seasonings and serve immediately .


The salad can be a great lunch option with some chips or crackers (healthy ones of course ) or a great stuffing for pita pockets and as a side dish with an Indian lunch . 

Recipe Source: Healthfooddesivideshi


Basil Egg Salad Sandwich

Makes about 4 servings

What You Need
8 eggs
12 leaves fresh basil (you can substitute dried basil, dried dill, or omit if you don’t have access to fresh basil)
1/2 cup Greek yogurt
1/2 red onion
2 tablespoons Dijon mustard
1/2 teaspoon kosher salt
Fresh ground pepper to taste

What To Do
Hard boil the eggs.
2  When the eggs are done and cooled, peel them, then chop them roughly. Chiffonade the 12 leaves of basil. Finely mince the 1/2 red onion.
In a bowl, combine the eggs, basil, and red onion with 1/2 cup Greek yogurt, 2 tablespoonsDijon mustard, 1/2 teaspoon kosher salt, and fresh ground pepper. Taste, then add more seasonings as desired.
Keeps for several days in the fridge. The taste of the fresh basil does dull after the first day, so you could add additional fresh basil to the leftovers as desired.


Noops Notes: I use it as a sandwich spread for lunch. I love the idea of using yogurt instead of mayo and I have been using the regular dahi and it works great. 

Recipe Source: Acouplecooks

Thursday, October 23, 2014

Quick Chickpea Tikki

Serving Size: about 12 small tikkis
  • A cup of boiled chickpeas is mashed with a fork (make sure the chole are cooked well otherwise the tikki will not bind together)
  • along with 1/4 cup finely diced onions and
  • 1/4 cup chopped almonds added
  • sesame seeds
  • 1/3 cup chopped parsley/cilantro

The mixture is seasoned with salt, pepper and paprika or chilly powder and a hint of anardana (dry pomegranate) powder. I added 1/2 cup of popped amaranth and mixed the dough like mixture well, shaped small patties and shallow fried on a skillet.


These croquettes can be served with any dip or chutney you like. I loved the way chopped almonds taste in this chickpeas croquettes.


Recipe Source: Healthfooddesivideshi

Nori Veg Rolls

Ingredients:
  • Hummus (recipe here)
  • 1 carrot, peeled with a vegetable peeler into strands
  • Leafy greens (spinach, baby kale, arugula all work great)
  • 1/2 Avocado
  • Nori sheet (i love this brand)
  • Sriracha (I use this)

 METHOD:

  • It's quite simple to make these rolls. Pile it all in, roll it up and eat! 
  • I do recommend staying away from things that have a high liquid content (like tomatoes, salad dressing, etc) as they can soak through the nori and get quite messy. 
  • And the trick to get them to stay together beautifully is a very light smear of hummus along the edge.  it binds it all together when you wrap it up. 


Noops Notes: If you are not fond of seaweed you can use the same ingredients to make a sandwich although I highly recommend adding some form of seaweed into your diet and these rolls are a easy and tasty way to do so. Also, its best to eat these rolls as soon as you make them, because they tend to get soggy quickly.

Alternative Recipes: For a snack, toast strips of nori in the oven at low heat. Or cover a sheet with cooked brown rice; add a layer of sliced carrots, celery, or avocado, and a dash of wasabi. Roll it up and dip in a sauce of tamari, toasted-sesame oil, ginger, and rice vinegar. 


Seaweeds Health Benefits: 
Among the marine flora, nori is one of the richest in protein (up to 50 percent of the plant's dry weight), and one sheet has as much fiber as a cup of raw spinach and more omega-3 fatty acids than a cup of avocado. Nori contains vitamins C (a potent antioxidant) and B12 (crucial for cognitive function) and the compound taurine, which helps control cholesterol.

Recipe Source: A house in the hills

Wednesday, October 22, 2014

Easy Quick Spinach Soup

This is one of those soups that's easy peasy to make and full of nutrition plus its yummy.


Spinach has good levels of iron, but not quite as much as originally believed. It is important to note that there are two forms of dietary iron: 'haem' iron and 'non haem' iron. Haem iron is found in animal products and is the most efficiently absorbed form of iron. Non haem iron is found in plant foods (such as spinach) and is a little harder for the body to absorb in comparison. Iron plays a central role in the function of red blood cells which help in transporting oxygen around the body, in energy production and DNA synthesis. 
Spinach is also an excellent source of vitamin K (helps in blood clotting), vitamin A (beta carotene), vitamin C and folic acid as well as being a good source of manganese, magnesium, iron and vitamin B2. Vitamin K is important for maintaining bone health and it is difficult to find vegetables richer in vitamin K than spinach.

Cooked v/s Raw Spinach: There is a big debate surrounding that spinach should never be eaten raw because it contains high levels of oxalic acid, which in excess can inhibit the absorption of other important nutrients such as calcium can lead to kidney stones. Lightly cooking spinach is thought to reduce the oxalic acid content. The key word here is excess which means different things to different people. For example, for a person taking anti coagulants or with history ff kidney stones, eating raw spinach everyday might not be recommended. But for a normal healthy person there is absolutely no need to completely ban raw spinach from your diet.  

I throw spinach in my dals especially dhuli mung and masoor and add it regularly to my scrambled eggs and salads.


Now the Recipe
  • Take little bit of olive oil and sauté lightly 1-2 cloves of finely chopped or grated garlic.
  • Then add spinach and little bit of water and give it one whistle in a cooker for the garlic flavor to come out.
  • Open the cooker, let it cool a little and puree the mixture
  • Put this in a pan and add 1/4th cup milk and little water (1/4th cup), lemon, salt and pepper and give it one nice boil.
  • You can top it off with sunflower seeds.

Monday, October 20, 2014

Hummus

This is a slightly Indian-ised version of the traditional hummus. The ideal healthy way is to eat it with celery sticks, cucumber and carrots. 
Ingredients:
  • Boiled chickpeas
  • 1-2 tbsp Tahini sauce 
  • 2 cloves garlic (can also try roasted garlic)
  • 1 green chilli
  • 1/4tbsp roasted jeera powder
  • lemon juice
  • red chilli powder & salt
  • fresh coriander
Process
  • Soak the chole 12-24 hours and then cook them on slow gas for about 4-5 whistles. You want the chickpeas to be super soft and their outer skin should start to peel off. This will result in a super creamy hummus otherwise you will have a dry and gritty mixture. (PS:You can try putting garlic cloves while boiling the chickpeas too). Do not throw the water away and use the same water for making the hummus thin.
  • Mix them all in the blender. Add some water to keep the consistency a bit thin. You can more chilli powder, salt and lime juice as per taste.
  • Before serving season with 1tbsp extra virgin olive oil and red chilli powder
Making Tahini Paste at home: If you are keen you can make tahini paste at home as well
  • White hulled or unhulled sesame seeds
  • Olive Oil
  • Salt (If you want, I personally don't add any)
Dry roast sesame seeds: Toast the seeds until they are lightly colored (not brown) and fragrant, about 5 minutes. Transfer the toasted sesame seeds to a large plate or tray and let them cool completely.
Blend the seeds first in the food processor and then add 2-3 tbsp olive oil. Can add more oil for thinner consistency.
Can keep it in an airtight container in the fridge for 4 weeks and maybe longer.

Notes:
  • Store bought tahini is typically made from white hulled sesame seeds - this gives the tahini a lighter color and smoother texture. Tahini made from unhulled sesame seeds is not quite as smooth, but it has a richer (sometimes more bitter) flavor and potentially more nutrients. I personally use unhulled seeds.